Quick start guide to installing SASS, Grunt & Compass for your next web project
October 17, 2015 5:41 pmLeave your thoughts
There are some excellent workflow tools that can save you heaps of time and effort in the development process, but they require some initial legwork to setup which can be off-putting when you just want to get your project kicked off. This is a bare bones step-by-step tutorial to getting one of my favourite workflows up and running on a windows machine with a few useful tasks to automate some of your processes. The workflow includes SASS for pre-processing CSS, Grunt.js for task management, the Compass framework for writing more efficient SASS, Susy for responsive grids and live browser reloading for rapid in browser development. Even if you’ve never used these tools before you should be able to follow along and get a working development environment to play around with. First of all lets get the main installation procedures out the way to make sure we have all the software and libraries we are likely to reuse across future projects (Node/Grunt, Ruby, Compass & Susy). We will be using Grunt.js to manage tasks in our workflow and Grunt.js requires Node.js so the first step is to install Node.js. Head to https://nodejs.org/en/ and click the install button on the homepage:
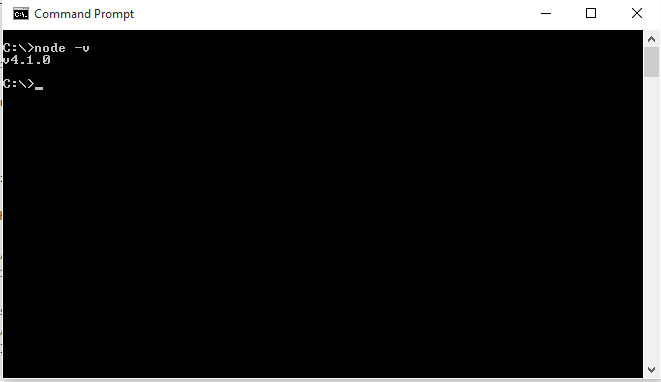
 Walk through the install procedure, there’s nothing special to do here, just follow the prompts. Once the installation is complete you can double check everything is working by bringing up the command prompt and entering
 node -v. You should see something like the following which is the version of Node.js you have installed – if you receive a ‘command not recognised’ error something has gone awry in the installation process, go back and try again.
 Now we have Node.js installed you can use the NPM (Node Package Manager) utility to install plugins such as Grunt.js . . . so lets just go ahead and do that.
In the terminal use the following command to install Grunt:
Now we have Node.js installed you can use the NPM (Node Package Manager) utility to install plugins such as Grunt.js . . . so lets just go ahead and do that.
In the terminal use the following command to install Grunt:
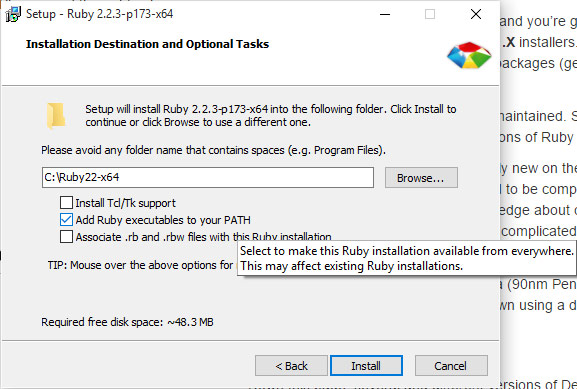
sudo npm install -g grunt-cliAs this guide is for Windows we also need to install Ruby which is required to run SASS so head to http://rubyinstaller.org/ and grab the latest version of Ruby (Mac’s already have Ruby installed). Again the install process is a simple walk-though, just follow the steps – the only notable setting to enable during the install process is the ‘Add Ruby executables to your PATH’. This will prevent us from having to type long path names to find the SASS compiler once everything is up and running.
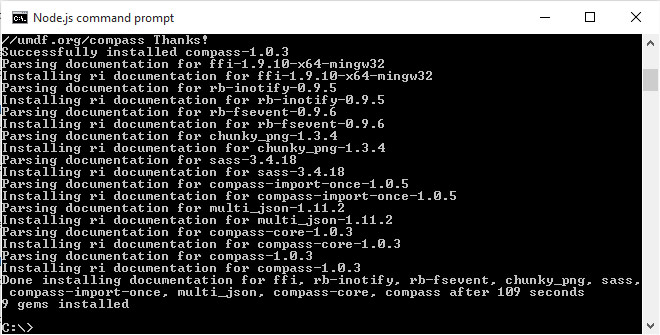
 Now lets install compass which adds some additional shortcuts for writing efficient SASS & CSS.
Head back to the terminal and enter the command:
Now lets install compass which adds some additional shortcuts for writing efficient SASS & CSS.
Head back to the terminal and enter the command:
gem install compassYou should see something similar to the output below:
 Finally lets install Susy – just pull up the terminal again and run the following command:
gem install susyWith all the main installs out the way we can now begin creating and configuring the workflow and adding any additional plugins that might vary from project to project. For this project I will be working in a WordPress theme folder so the project root will be:
/my-site-name/wp-content/themes/my-project-nameWithin this folder I’ll use the
_sass> folder to house SASS files which will be compiled and output to the js and css folders.
First up lets create a package.json file to install the plugins and extensions we need for this specific workflow. The package.json file also serves as a useful list of dependencies that our project requires which will save heaps of time when re-creating this workflow on other similar projects, or for sharing projects with others.
So create a package.json file in the root folder of your project with the following content:
{
  "name"          : "willynilly-sass",
  "version"       : "0.0.1",
  "dependencies"  : {
    "grunt"                 : "~0.4.5",
    "grunt-contrib-connect" : "0.11.2",
    "grunt-contrib-watch"   : "~0.5.3",
    "grunt-contrib-compass" : "~0.5.0",
    "grunt-contrib-uglify"  : "~0.2.7",
    "matchdep"              : "~0.1.2"
  }
}
npm installIf all goes well you should see the installation notifications:
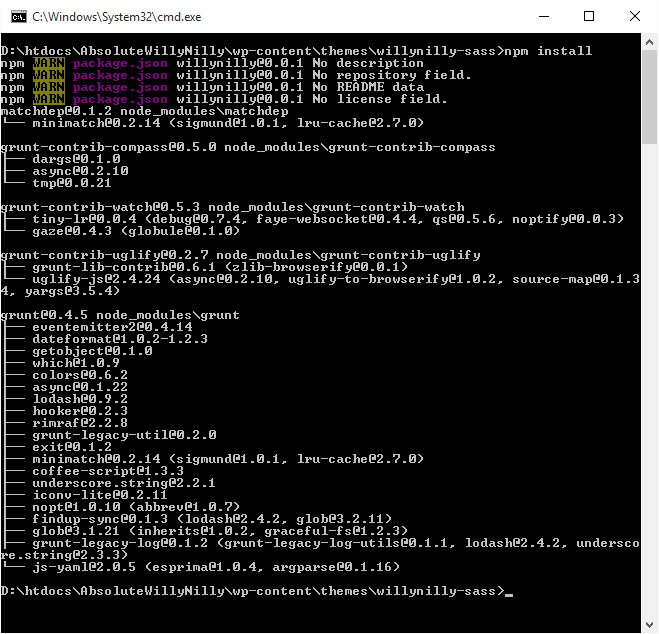 …and the
 node_modules folder will be added to your project:
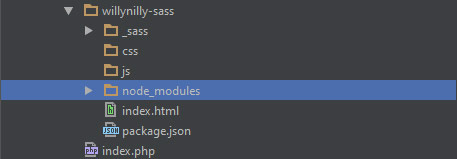 With all the extensions installed it’s time to create a gruntfile.js with our tasks! Again in the root folder of your project create
 gruntfile.js with the following content:
module.exports = function(grunt) {

  grunt.loadNpmTasks('grunt-contrib-uglify');
  grunt.loadNpmTasks('grunt-contrib-watch');
  grunt.loadNpmTasks('grunt-contrib-compass');
  grunt.loadNpmTasks('grunt-contrib-connect');
  grunt.initConfig({

    uglify: {
      my_target: {
        files: {
          '/js/script.js': ['_sass/js/*.js']
        } //files
      } //my_target
    }, //uglify

    compass: {
      dev: {
        options: {
          config: 'config.rb'
        } //options
      } //dev
    }, //compass

    connect: {
      server: {
        options: {
          hostname: 'localhost',
          port: 9000,
          livereload: true
        }
      }
    },

    watch: {
      options: { livereload: true },
      scripts: {
        files: ['_sass/js/*.js'],
        tasks: ['uglify']
      }, //script
      sass: {
        files: ['_sass/sass/*.scss'],
        tasks: ['compass:dev']
      }, //sass
      html: {
        files: ['*.html']
      }
    } //watch

  }) //initConfig

  grunt.registerTask('default', ['connect', 'watch']);

} //exports
config.rb with the following content:
require "susy"
css_dir = 'css'
sass_dir = '_sass/sass'
javascripts_dir = 'js'
output_style = : compressed
relative_assets = true
grunt command you should see the connect and watch tasks fire up:
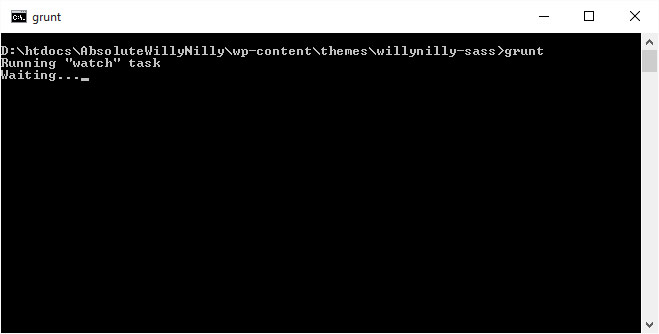 Now if you manipulate any of the files in the _sass folder they will automatically be processed, compressed and copied over to the directories specified in your config.rb file:
 With Compass and Susy installed you can use additional syntax to improve and extend SASS and have a great platform for your next responsive web project.
…and finally with grunt-contrib-connect providing live reloading you should also be able to see the fruits of your labour loading live in your browser as soon as you hit save. Just don’t forget to append the port number used in your gruntfile (9000 in this example) e.g:
With Compass and Susy installed you can use additional syntax to improve and extend SASS and have a great platform for your next responsive web project.
…and finally with grunt-contrib-connect providing live reloading you should also be able to see the fruits of your labour loading live in your browser as soon as you hit save. Just don’t forget to append the port number used in your gruntfile (9000 in this example) e.g: http://localhost:9000/
Categorised in: Web Development
This post was written by WillyNilly